Agent Scheduling
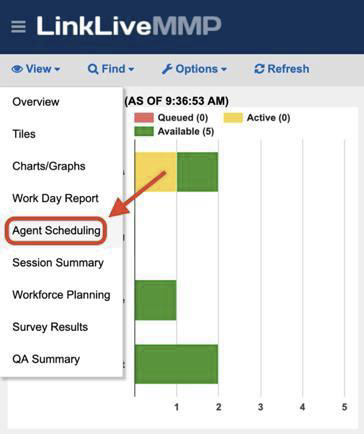
To access Agent Scheduling, hover over the View menu and select Agent Scheduling.
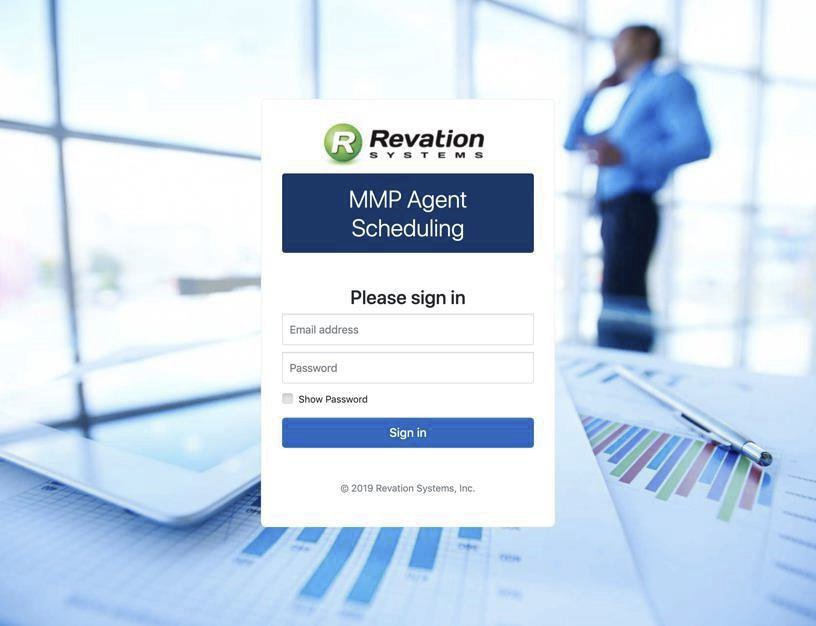
This will open a new tab in your browser taking you to the LinkLive Reporting Agent Scheduling sign in page (shown below). You can sign into LinkLive Reporting Agent Scheduling with your LinkLive Communicator/LinkLive Reporting credentials.
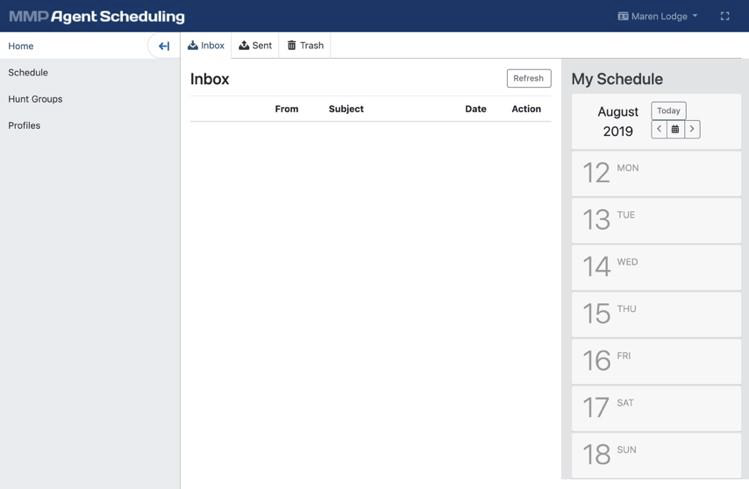
The Home page of LinkLive Reporting Agent Scheduling displays your Inbox, Sent folder and Trash folder, along with your personal Schedule for the week.
The Schedule tab displays schedules on the calendar for team members. The search bar in the upper left-hand corner allows you to search for a specific agent. The calendar button in the right-hand corner allows you to select a date in the future to view schedules for.
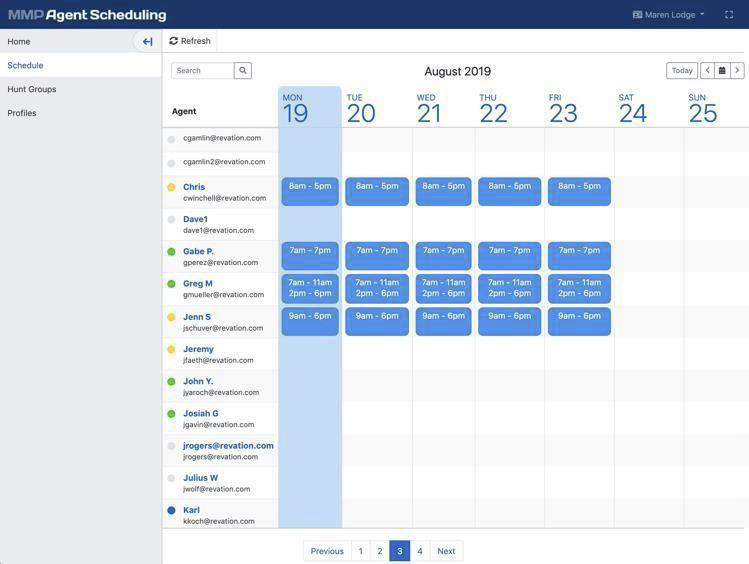
There are two types of schedule events that you can create: a Change Request or a Weekly schedule request.
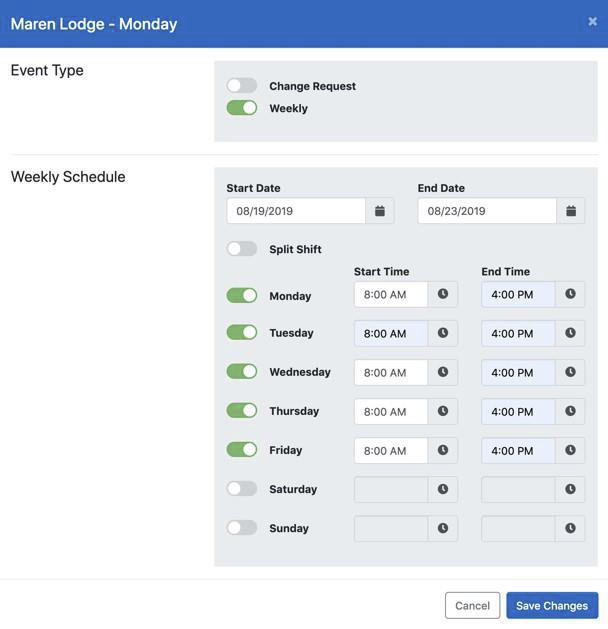
To create a Weekly schedule request, click on the date for that agent’s row. A window will pop up with Event Type at the top where you will select Weekly. Underneath the Event Type section, a Weekly Schedule section will appear.
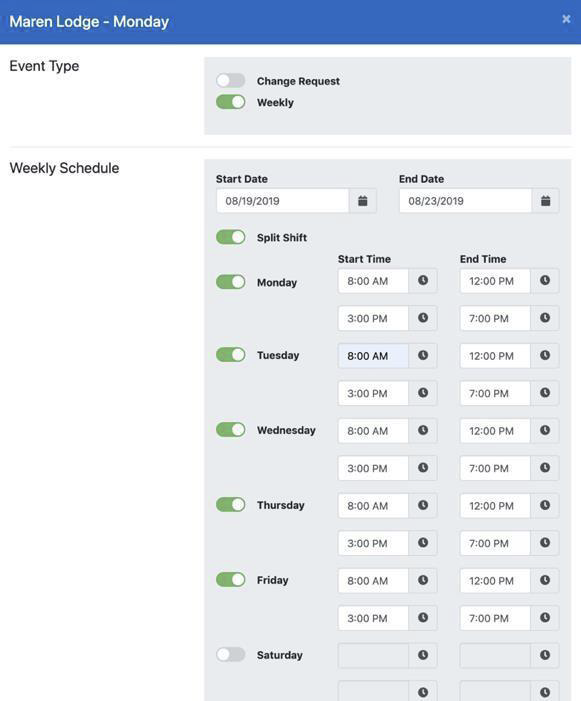
You must select the Start Date and End Date for the weekly schedule you are entering. Next, you have the option to select if the schedule is a Split Shift. Select the days of the week along with the time of the shift (shown below).
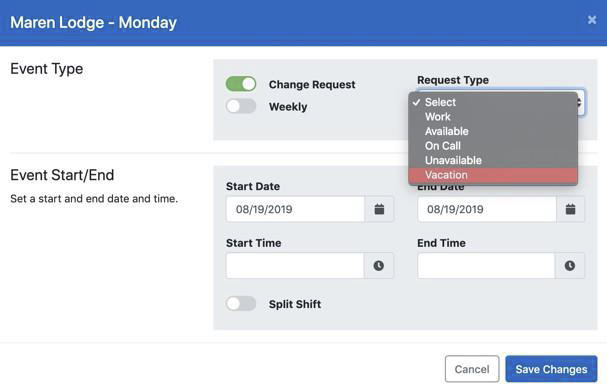
Change Requests can be used to set aside time in an agent’s schedule that is designated as a certain type of availability or unavailability: Work, Available, On Call, Unavailable or Vacation.
To create a Change Request, click on the date for that agent’s row. A window will pop up with Event Type at the top where you will select Change Request. A dropdown menu titled Request Type will appear, allowing you to choose from the options of Work, Available, On Call, Unavailable or Vacation.
Next, select the Start Date and End Date for the request, along with the Start Time and End Time (for example, a request for a half-day of vacation) as shown in the image below.
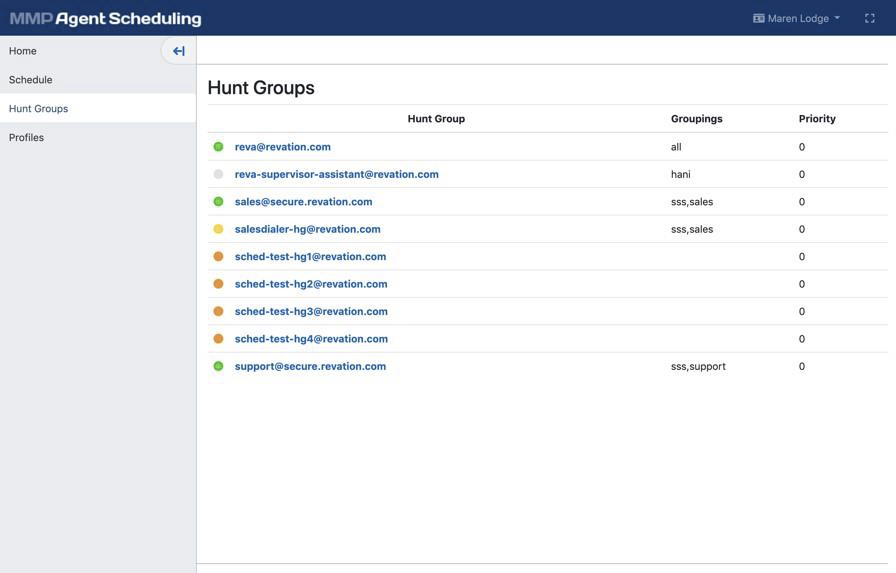
The Hunt Groups tab displays hunt groups to filter your schedule view by, along with groupings and priority information.
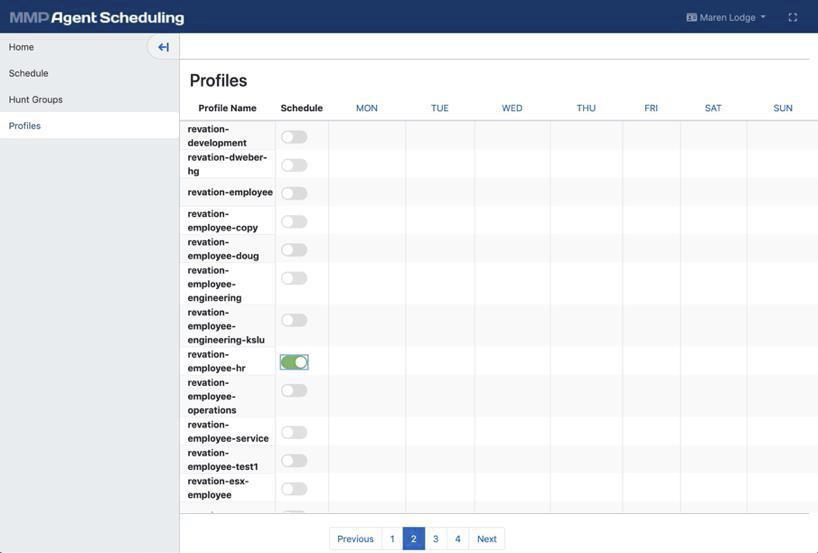
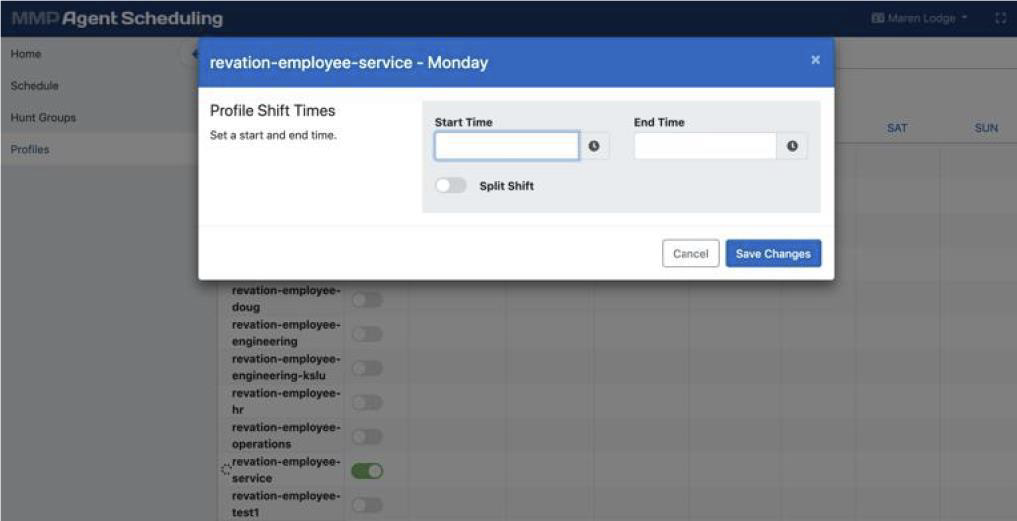
The Profiles tab provides a view for Supervisors to determine which profiles they would like to set a default schedule for. Once enabled, the Supervisor can select days of the week to set a default schedule for those agents. The Split Shift toggle allows Supervisors to set a split shift for a particular day. For example, an agent works from 7:00 AM – 12:00 PM, and then again from 1:00 PM – 5:00 PM.
