Appointments Manager: Scheduler Management
Appointment Managers will access the Schedulers link to Add and Update Schedulers, assign Calendar Providers, and test a Scheduler Guest View. To access the list of Schedulers, users click on Schedulers. There are filters to help searching as well as icons to indicate whether Categories, Sub-Categories and Locations are hidden or Visible to the Public. Users can add new Schedulers or edit existing. Note that edits to existing Schedulers will immediately update behavior in any guest views that use the Scheduler.

Clicking on a Scheduler shows the attached Calendar Providers along with the hours they are available to take Appointments. Available hours are assigned as either the Provider Base Hours or Custom Hours for this specific scheduler. With this one view, users can quickly see if all days and times for appointment meetings are sufficiently covered. Users can click on a specific Provider to update their available days and hours. Note that the hours shown per Provider are simply the days and hours they might be available. If the Calendar Provider has specific appointments or out-of-office events on their Outlook calendars, those times will show as unavailable within the Guest View when a consumer is booking an appointment.

When viewing a Scheduler, clicking on Edit allows the user to update and add configuration settings to the Scheduler.
At the top, they select the Category, Sub-Category and Location for this scheduler. Note that if creating a Personal Calendar Scheduler for a Calendar Provider, the 'None' fields may be selected for the Category and Sub-Category along with a location that is specific to that Provider. Setting up None fields are discussed in the Managing Categories and Sub-Categories section.

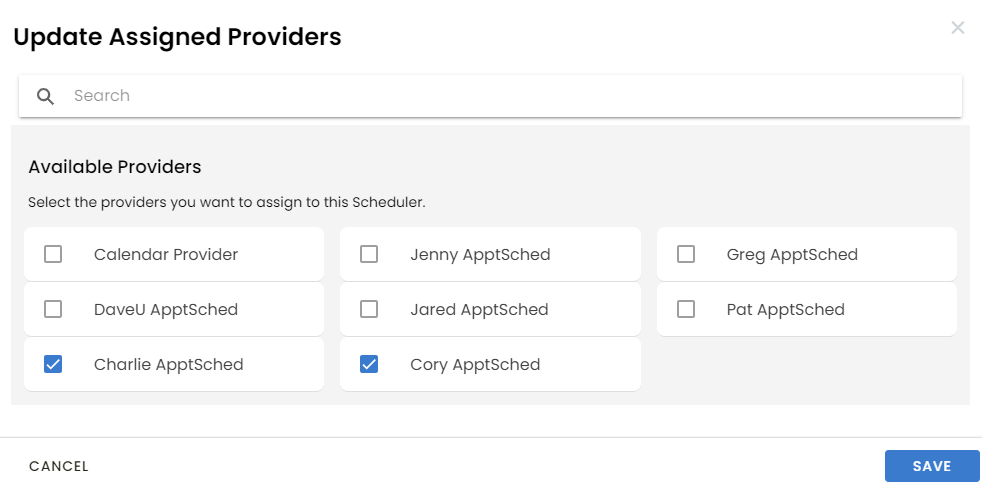
Next the user will select the Providers for this calendar.

Next the user will configure Appointment Types. If the user only selects one, e.g. Call Back, then that will be the only meeting option shown in Guest View for this scheduler. If the user selects both, then the Guest View display both meeting types and the consumer will choose between a phone call or in-person meeting.

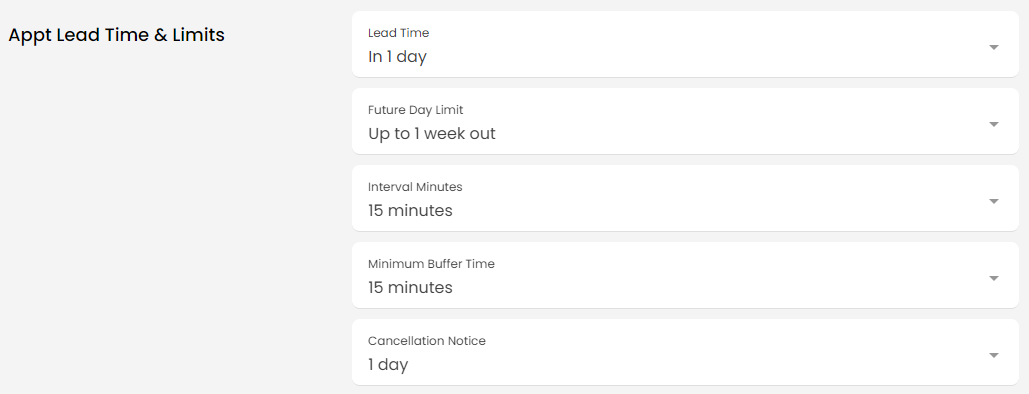
Next, the user will access Appointment Lead Time and Limits Settings to configure meeting attributes:
Lead Time - Minimum lead time that a meeting can be scheduled. For example, can users schedule the appointment 1 hour, 1 Day or 1 week before the day of the meeting
Future Day Limit - How far into the future Appointment slots be shown in the Guest View
Interval Minutes - Defines how often meetings are scheduled This essentially dictates the length of meeting
Minimum Buffer time - Minimum time between meetings. For example, minimum buffer time is 15 minutes and last appointment ends at 11:00 am, the next available appointment timeslot will be 11:15 am
Cancellation Notice - Minimum lead time for a Cancellation Notice

User Contact Fields - Mandatory and optional data that will be collected from the user. These values will be included on the invite for the Calendar Provider

