Appointment Manager: Generating Guest Views
Once you have created Categories, Sub-Categories, Locations and Schedulers, you can create and test Guest Views. The end result will be Guest View URLs that you can embed in your digital touchpoints, including websites, digital banking and email signatures. An overview of the types of Guest Views you can create is covered in the Introduction to LinkLive Appointments page.
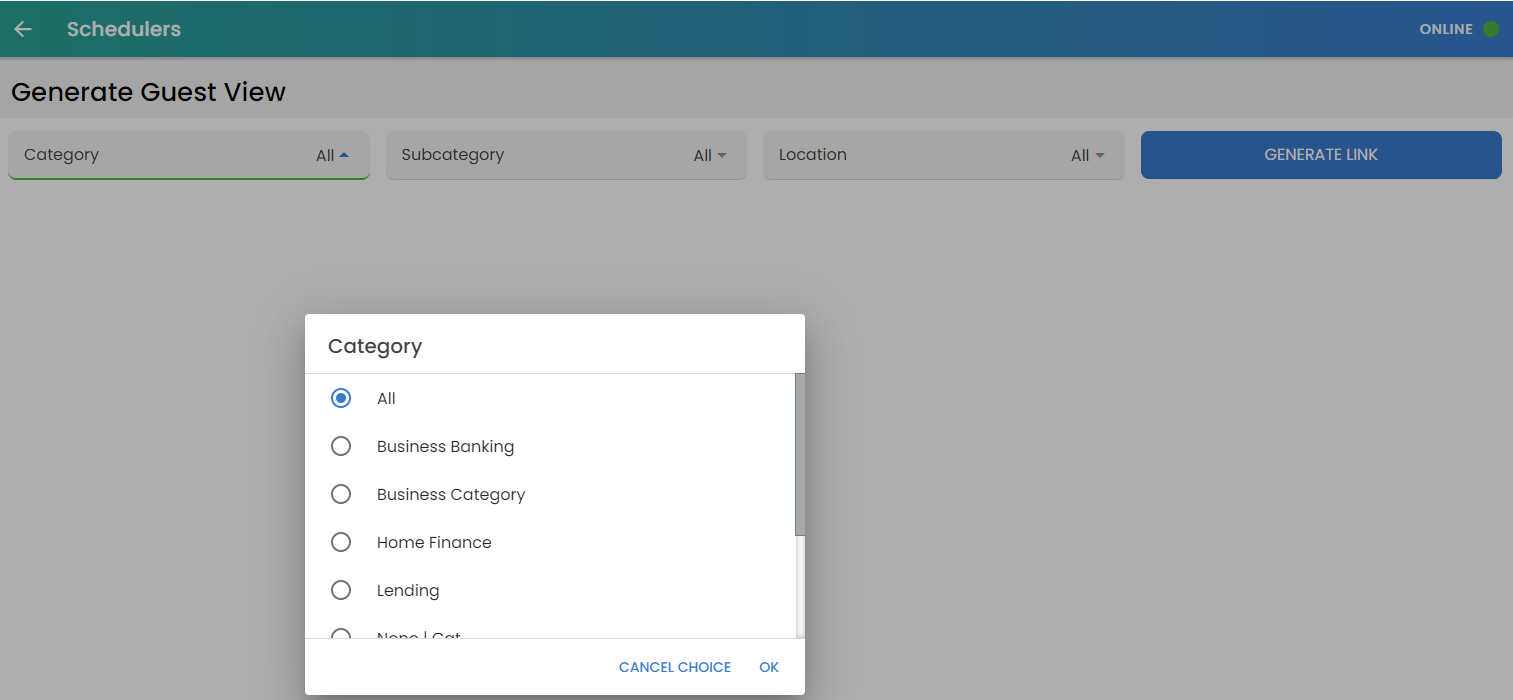
To access the Generate Guest View Page, open the ellipsis in upper right corner of the Schedulers screen. You are now ready to generate and view the Guest View Link by selecting from the Category, Sub-Category and Location Filters. Note that the filters on the Generate Guest View page behave differently than the Scheduler Search page.
First, on the Generate Guest View Page, the filters ONLY CONTAIN VALUES THAT HAVE AN ASSOCIATED SCHEDULER. This is done to ensure that you only generate Guest Views that can result in a scheduler where the consumer can book an appointment.
Second, as you make a filter selection, the other two filters are instantly updated to only show values where there is an associated Scheduler for that selection.
Third, similar to the Scheduler Search page, the filters can contain hidden categories, Sub-Categories, or Locations. This is important you will use hidden elements to create calendars such as Personal Calendars that hide specific pages in the Guest View

Generating General Guest Views
The most basic Guest View is a General Guest View, where ALL of the screens are visible and the consumer steps thru each step to book an Appointment. To generate a General Guest View, select All from each filter and click Generate Link. You now see a Guest View URL link for that selection. You can access the ellipsis to either Copy the URL or Open the Guest view, which opens a browser window with the Guest View for you to test. For a Generate Calendar you notice that the Categories, Sub-Categories Locations and associated Schedulers are visible and behave as expected. In fact, the availability you see on the Scheduler screen is integrated to the Outlook calendars for the associated Calendar Providers. Please see the Scheduler Guest Views video for more details on troubleshooting Scheduler behavior. If the Guest View behave properly, you can go back to the Generate Guest View page and copy the URL so that you can integrate to your website.

Generating Product Specific Guest Views
To generate a Product Specific Guest View that skips the Category and possible Sub-Category selection pages, select the Category for that Product. If you wish to skip the Sub-Category page, you can select None for the Sub-Category - OR - if you select All for Sub-Category, the Sub-Category page will be shown IF and only IF there are more than one VISIBLE sub-categories for the chosen Category. If there are zero or one visible sub-categories for the selected Category the sub-category page will not be shown in the Guest View. Lastly, select All for Locations and select Generate Link to repeat the steps to generate and copy the resulting Guest View Link.

Generating Location Specific Guest Views
To generate a Location specific Guest View, Select the Location in the Location Filter. Most often you will select All for Categories and Sub-Categories. However, if you wish to skip the Category and/or Sub-Category pages, you can select None for these pages - OR - if you select All these pages will be shown IF and only IF there are more than one VISIBLE Categories or Sub Categories for the chosen Location. sub-categories for the chosen Category.

Generating Person Specific Guest Views
Lastly, to generate a Person Specific Calendar, select None and None for the Category and Sub-Category and choose the unique location for the Calendar Provider, e.g. Cory's location. This will result in a Guest View that skips the Category, Sub-Category and Locations screens and goes directly to the Scheduler calendar for that Calendar Providers.

Generating Guest View Rules
While these types of Guest Views are most common, the flexibility of LinkLive Appointments allows you to create many different Guest Views to meet the unique needs of your organization. It is important to remember the rules for visibility of Screens and values within a guest view.
A Guest View only shows a Category, Sub-Category or Locations if there is an Active Scheduler for that Category, Sub-Category or Location
Hidden elements will not be shown in the Guest View
If a Category, Sub Category or Location includes zero or one visible element, the page is not shown in the Guest View
If the Category, Sub-category and Location Pages are not shown due to conditions above, Guest View starts on the Scheduler calendar view page
