All About Shortcuts
Shortcuts automate typing of text that you send frequently. For instance, “Hi, this is Mary, how can I help you?” or “Please hold while I pull up your account information”, etc. Once you set them up as shortcuts, they are available for entry into chat sessions.
Use a Shortcut in a Chat
Within a chat session window, click the Shortcut icon , and choose the Shortcut you want from the drop-down menu. The text represented by the Shortcut, will be inserted into the chat session.
Enter a New Chat Shortcut
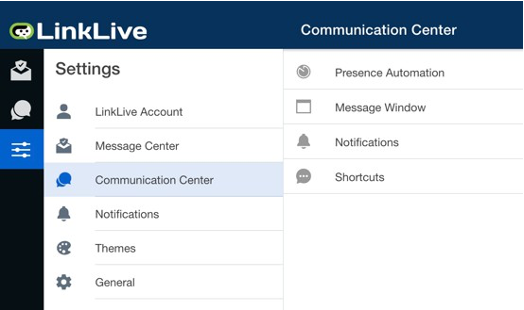
To enter a new text shortcut for chat sessions, the user must first create the shortcut in the Communication Center settings tab in the main Settings menu.
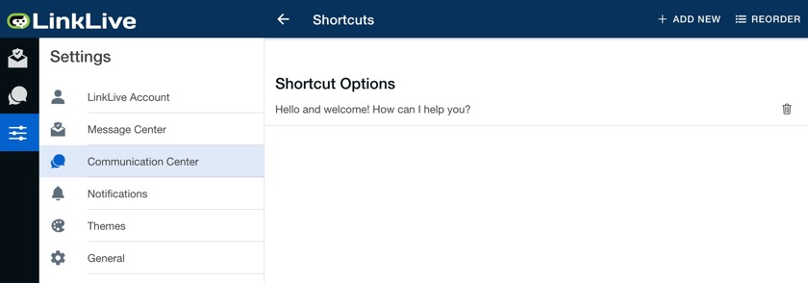
To create a shortcut, click + Add New in the top right-hand corner.
A pop-up will appear prompting you to enter the text for the shortcut.
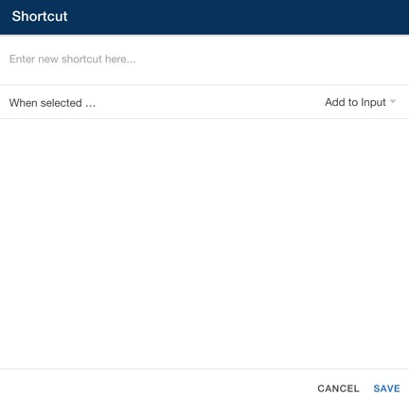
After entering the text, the user must choose an option for when the shortcut is selected. There are three options for how you may enter a Shortcut into a chat. The difference between the three options is what happens after you select a shortcut Add to Input, Add then Send, Add then Send & Close.
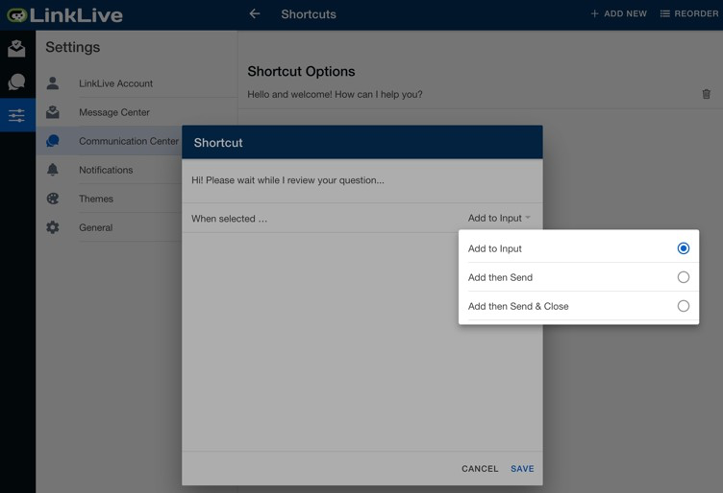
Add to Input simply enters the text into the bottom chat window and then you may enter additional text and/or click the Send button to send the chat. An example might be: “I am stepping away – I will be back in X minutes” and after you enter this, you could simply edit “X” and click send.
Add to Input then Send enters the text and sends the chat automatically. This can be used for a shortcut that is ready to send to the other party immediately. For example: “Hi, this is Mary, how can I help you today?”
Add to Input, Send, then Close enters the text, sends it, and then closes the chat window immediately. For example: “I cannot talk now. I will chat with you later.”
Click Save once the selection has been made.
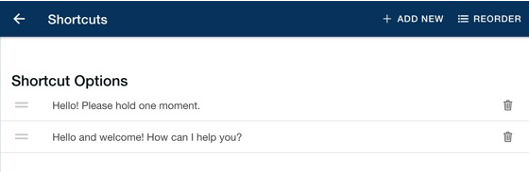
To delete a shortcut, click on the trash icon next to it.
To reorder shortcuts, click on the reorder button and use your mouse to drag the shortcuts.
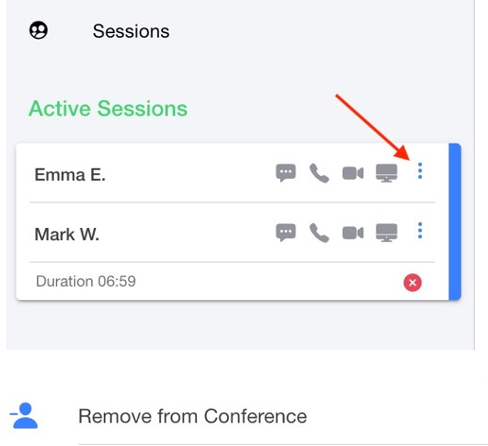
Remove a party from the conversation
Inside of the chat window, click the blue icon in the media status bar for the participant you wish to remove. A pop-up message will appear confirming you wish to remove that participant from the conference.